Setting up a new project#
This guide and the related pages are intended as a beginner-friendly introduction to DeepLabCut for users who are new to Python. After you are comfortable with this material, we recommend then jumping into the more detailed user guides!
Installation#
Before you begin, make sure that DeepLabCut is installed on your system. Please see the installation page for detailed instructions on how to install DeepLabCut on your computer.
Starting the DeepLabCut GUI#
In the terminal, type:
python -m deeplabcut
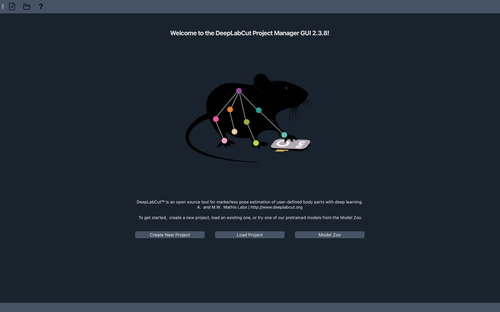
This will open DeepLabCut.
Note
For a visual guide on navigating through the DeepLabCut GUI, check out our YouTube tutorial.
Starting a new project#
🐾 New project step-by-step#
Launch New Project:
When you start a new project, you’ll be presented with an empty project window. In DLC3+ you will see a new option “Engine”.

Note
For most users, the engine will be PyTorch. See TensorFlow support for TensorFlow support.
Filling in Project Details:
Naming Your Project:
Give a specific, easy-to-track name to your project.
Tip
Avoid spaces in your project name.
Fill in the name of the scorer/experimenter. This name is used in data headers and directory names and it remains permanently associated with the project.
Determine Project Location:
By default, your project will be located on the Desktop.
To pick a different location, browse as needed.
Multi-Animal or Single-Animal Project:
Tick the ‘Multi-Animal’ option in the menu if relevant to your experiment.
Choose the ‘Number of Cameras’ as per your experiment.
Adding Videos:
First, click on
Browse Videosbutton on the right side of the window, to search for the video contents.Once the media selection tool opens, navigate and select the folder with your videos.
Tip
DeepLabCut supports
.mp4,.avi,.mkvand.movfiles.A list will be created with all the videos inside this folder.
Unselect the videos you wish to remove from the project.
Videos outside the project directory can be automatically copied into the project folder by selecting the “Copy videos to project folder” option. This is the recommended strategy for data management. External videos that are not copied are instead referenced via symbolic links. While using symbolic links avoids duplicating files and reduces storage usage, it is also more prone to issues, for example if the original files are moved or deleted.
Tip
By default, the GUI will look for a directory containing videos. Use the “Select individual files” checkbox if you want to select individual videos instead of a whole folder.
Define bodyparts and individuals:
Enter all the name, numbers or IDs of bodyparts you wish to track.
Example: “head”, “tail”, “left paw”, “right paw”, etc.
Less recommended: “L1”, “L2”, “L3”, etc.
If you have multiple animals:
Enter the name, numbers or IDs of the individuals in your experiment.
Example: “mouse1”, “mouse2”, “mouse3”, etc.
Unique bodyparts: If you wish to track “landmark” locations, such as the edges of a maze, or a specific object, you can add these as “unique bodyparts”. These are not considered part of an individual, but are still tracked as part of the project.
Example: “maze_left_edge”, “maze_right_edge”, “reward_port”, etc.
Identity labeling: if and only if you can tell individuals apart by their appearance (not their location), set this to Yes and consistently label your individuals in the same way across videos. This will allow DeepLabCut to learn to tell them apart, and assign consistent identities across frames and videos.
Create your project:
Click on the
Createbutton on the bottom, right side of the main window.A new folder will be created in the location you chose above.
Video tutorial#
📽 Video Tutorial: Setting Up Your Project in DeepLabCut#

Next steps#
Next, head over to the beginner guide for editing the configuration and managing the project, which will show you how to edit the configuration file to edit your bodyparts and skeleton structure.