Project Manager GUI#
As some users may be more comfortable working with an interactive interface, we wanted to provide an easy entry point to the software. All the main functionality is available in an easy-to-use GUI interface. While several advanced features are not fully available in this Project GUI, we hope this gets more users up-and-running quickly.
Getting started#
Install DeepLabCut following the instructions in the installation page.
Open the terminal and run:
python -m deeplabcut
Important
If you use Windows, please always open the terminal with administrator privileges! Right click, and “run as administrator”.
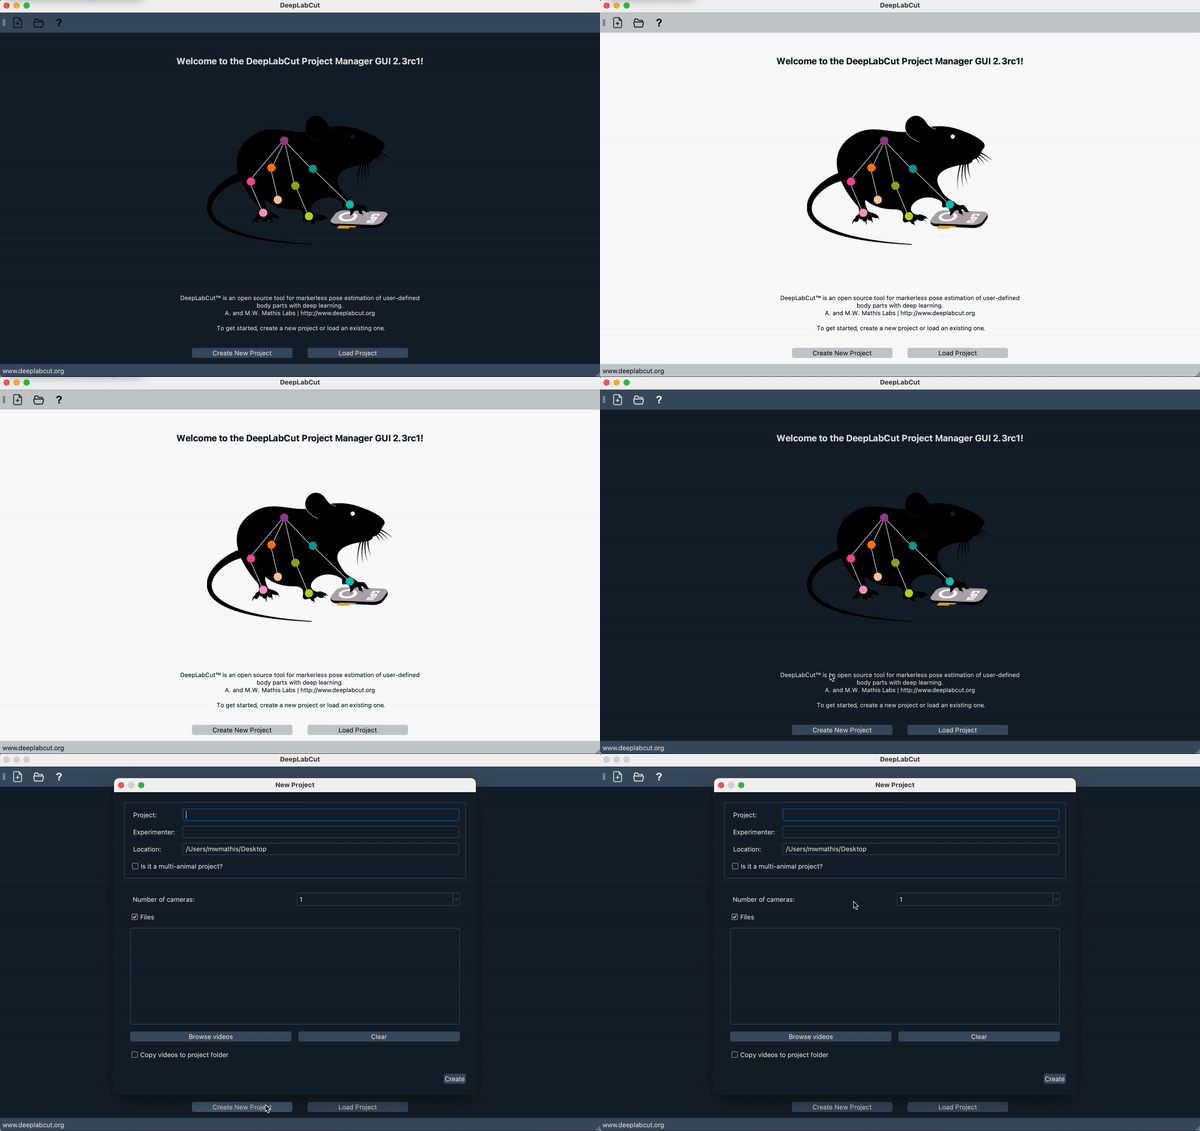
Start at the Project Management Tab and work your way through the tabs to build your customized model and deploy it on new data. We recommend to keep the terminal visible (as well as the GUI) so you can see the ongoing processes as you step through your project, or any errors that might arise.
For specific napari-based labeling features, see the napari gui section.
To change from dark to light mode, set appearance at the top:

User guide#
Important
See the dedicated Setting up a new project section for a step-by-step walkthrough of the GUI.
Video demos#
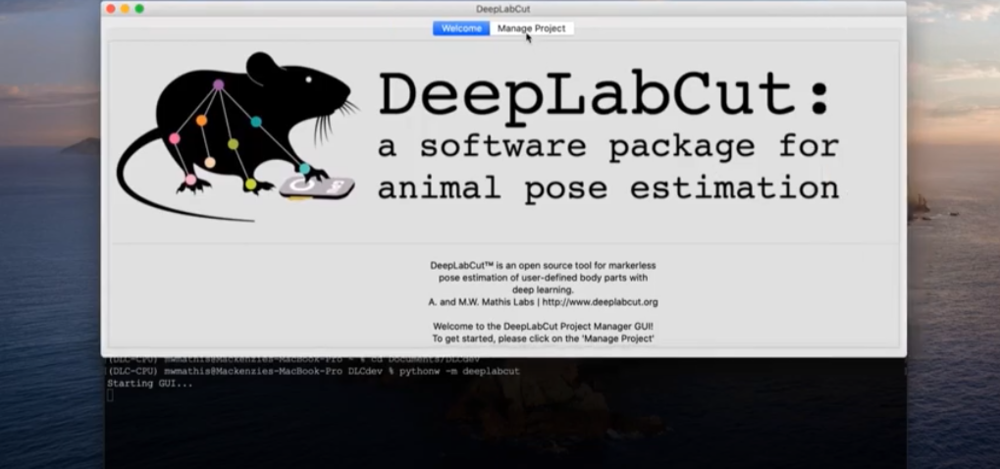
How to launch and run the Project Manager GUI#
Tip
Click on the images!
Note that currently the video demo is the wxPython version, but the logic is the same!
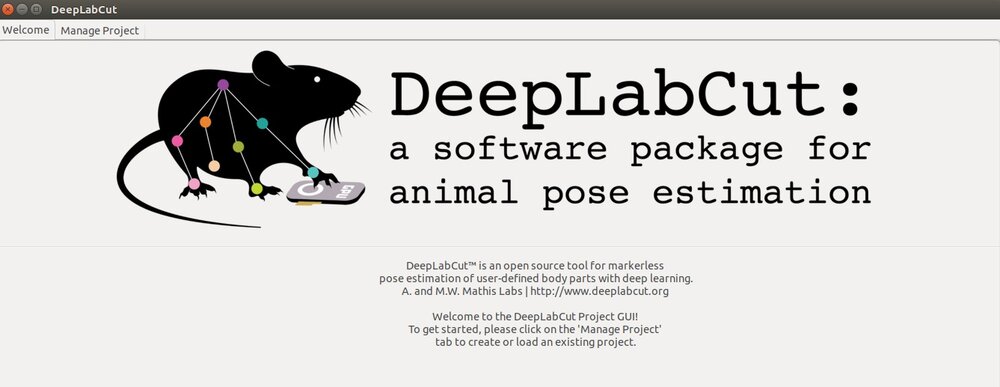
Using the Project Manager GUI with the latest DLC code (single animals, plus objects)#
Using the Project Manager GUI with the latest DLC code (multiple identical-looking animals, plus objects)#